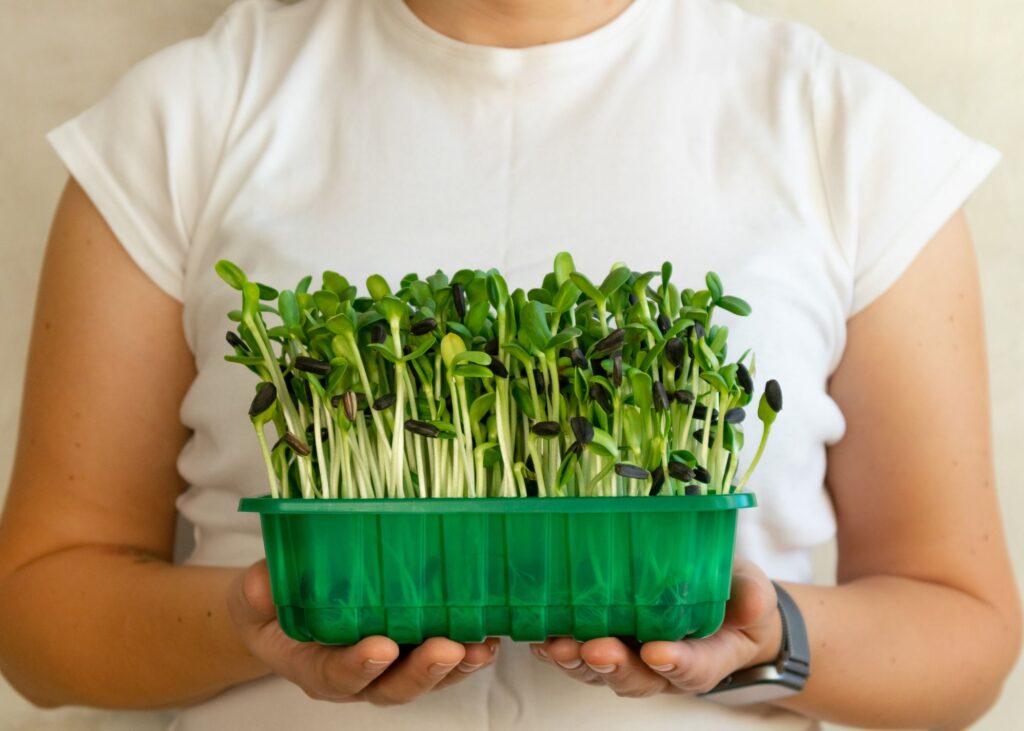

The Benefits of Growing Microgreens
Microgreens are young plants that are harvested at an early stage of growth, typically within 7–14 days after germination, when they are only a few inches tall, usually between 1-3 inches. These young plants can grow from a variety of seeds, including vegetables, herbs, and grains. Microgreens have a delicate texture, vibrant colors, and intense flavor, making them a popular choice as a garnish or ingredient in salads, sandwiches, smoothies, and other dishes.
Growing microgreens is a great way to reap a variety of benefits, ranging from their nutrient density to their sustainability. Microgreens are packed with vitamins, minerals, and antioxidants, and studies have shown that they can contain up to 40 times more nutrients than their mature counterparts. This makes them a valuable addition to a healthy diet.
In addition to their nutritional value, microgreens are relatively easy to grow and require minimal space, making them a great option for people who don’t have access to a large garden or outdoor space. They can be grown indoors year-round and typically only take a few weeks to mature.
Homegrown microgreens can also be more cost-effective than buying them at the grocery store, as they are often expensive to buy. Microgreens have a wide range of flavors and can be incorporated into various dishes such as salads, sandwiches, and smoothies. Growing microgreens at home is an excellent way to reduce your carbon footprint and produce fresh greens sustainably. Since they can be grown in small spaces and require fewer resources than traditional farming methods, microgreens are an environmentally conscious and more sustainable option.
Things to Consider Prior to Planting Microgreens
To ensure the successful growth and harvesting of microgreens, you should consider several factors when beginning to plant them. Firstly, choose high-quality seeds labeled specifically for microgreens and free from GMOs and disease. Secondly, you can grow microgreens using soil or hydroponic methods. For soil-based growing, use sterile, well-draining, and nutrient-rich mediums. For hydroponic growing, make sure the mediums are pH-balanced and oxygenated.
Additionally, microgreens seeds require adequate light to grow and can be grown using natural light or artificial grow lights. The ideal temperature range for growing microgreens is between 60 and 75 °F, as they thrive in warm, humid environments. Regular watering is essential to keep the growing medium moist, but overwatering should be avoided to prevent mold and disease.
To prevent mold and disease, it’s crucial to ensure proper air circulation when growing microgreens. You can use a fan or other device to circulate air around the growing area. Lastly, it’s essential to harvest microgreens when they reach a height of 1-3 inches, usually within 7-14 days after germination. Use sharp scissors to cut the stems just above the soil line.
Materials Needed to Plant Microgreens
| Materials | Purpose | What we Recommend |
| Seeds | Choose high-quality seeds that are specifically labeled for microgreens. You can find a variety of microgreens seeds online or at your local garden center. |  |
| Growing Medium | Microgreens can be grown in soil or using hydroponic methods. Soil-based growing mediums should be sterile, well-draining, and nutrient-rich. Hydroponic growing mediums should be pH-balanced and oxygenated. |  |
| Containers | You can use a variety of containers to grow microgreens, such as trays, pots, or plastic containers. Make sure the container has drainage holes to prevent water buildup. |  |
| Light Source | Microgreens require adequate light to grow. They can be grown using natural light or artificial grow lights. If using natural light, choose a location that receives at least 4-6 hours of direct sunlight per day. If using grow lights, you will need to purchase the appropriate bulbs. |  |
| Watering Can or Spray Bottle | Microgreens require regular watering to keep the growing medium moist. You can use a watering can or spray bottle to water the plants. |  |
| Fan | Proper air circulation is important for preventing mold and disease. Use a fan or other device to circulate air around the growing area. |  |
| Scissors or Harvest Knife | Microgreens should be harvested when they reach a height of 1-3 inches, usually within 7-14 days after germination. Use sharp scissors or a harvest knife to cut the stems just above the soil line. |  |

Step-by-Step Planting Guide: Microgreens
- Choose the type of microgreens seeds you want to grow. Some popular options include broccoli, radish, kale, and arugula.
- Select a tray or container with drainage holes. This can be a plastic or ceramic tray, a recycled plastic container, or even a disposable aluminum baking pan.
- Fill the tray with your chosen growing medium. If using soil, make sure it is a high-quality potting mix that is sterile, well-draining, and nutrient-rich. If using hydroponics, use a pH-balanced and oxygenated growing medium.
- Moisten the soil or hydroponic medium with water until it is evenly damp. Avoid overwatering, as this can cause mold and disease.
- Sprinkle the microgreen seeds evenly over the surface of the growing medium. Use a small spoon or your fingers to gently press the seeds into the soil or hydroponic medium.
- Cover the tray with a clear plastic lid or plastic wrap to create a humid environment for the seeds. Place the tray in a warm, well-lit location. If using artificial lights, keep them on for 12-16 hours per day.
- Water the microgreens regularly using a spray bottle or watering can. Keep the growing medium evenly moist, but not soggy.
- After 7-14 days, the microgreens should be ready to harvest. Use sharp scissors to cut the stems just above the soil line. Rinse the microgreens in cool water and pat dry with a paper towel.
Optional: Use a fan to circulate air around the growing area. This can help prevent mold and disease.
Common Planting Problems with Microgreens
Planting microgreens can be enjoyable and rewarding, but like any gardening project, it can present some difficulties. The following are some typical problems that may arise when growing microgreens and how to fix them:
- Mold: Mold is a common issue when growing microgreens, especially if they are overwatered or don’t have enough ventilation. To prevent mold, make sure to water your microgreens carefully and provide them with good air circulation.
- Leggy growth: Leggy growth is when your microgreens become tall and spindly, rather than growing compactly. This can happen if your plants aren’t getting enough light, or if they are crowded together. Try adjusting your lighting or spacing out your plants to encourage compact growth.
- Wilting: Wilting can occur if your microgreens are under-watered or if the temperature is too high. Make sure to water your plants regularly and keep them in a cool, shaded area to prevent wilting.
Yellowing leaves: Yellowing leaves can be a sign of nutrient deficiencies or over-fertilization. Make sure you’re using the right type and amount of fertilizer, and adjust as needed to prevent yellowing.